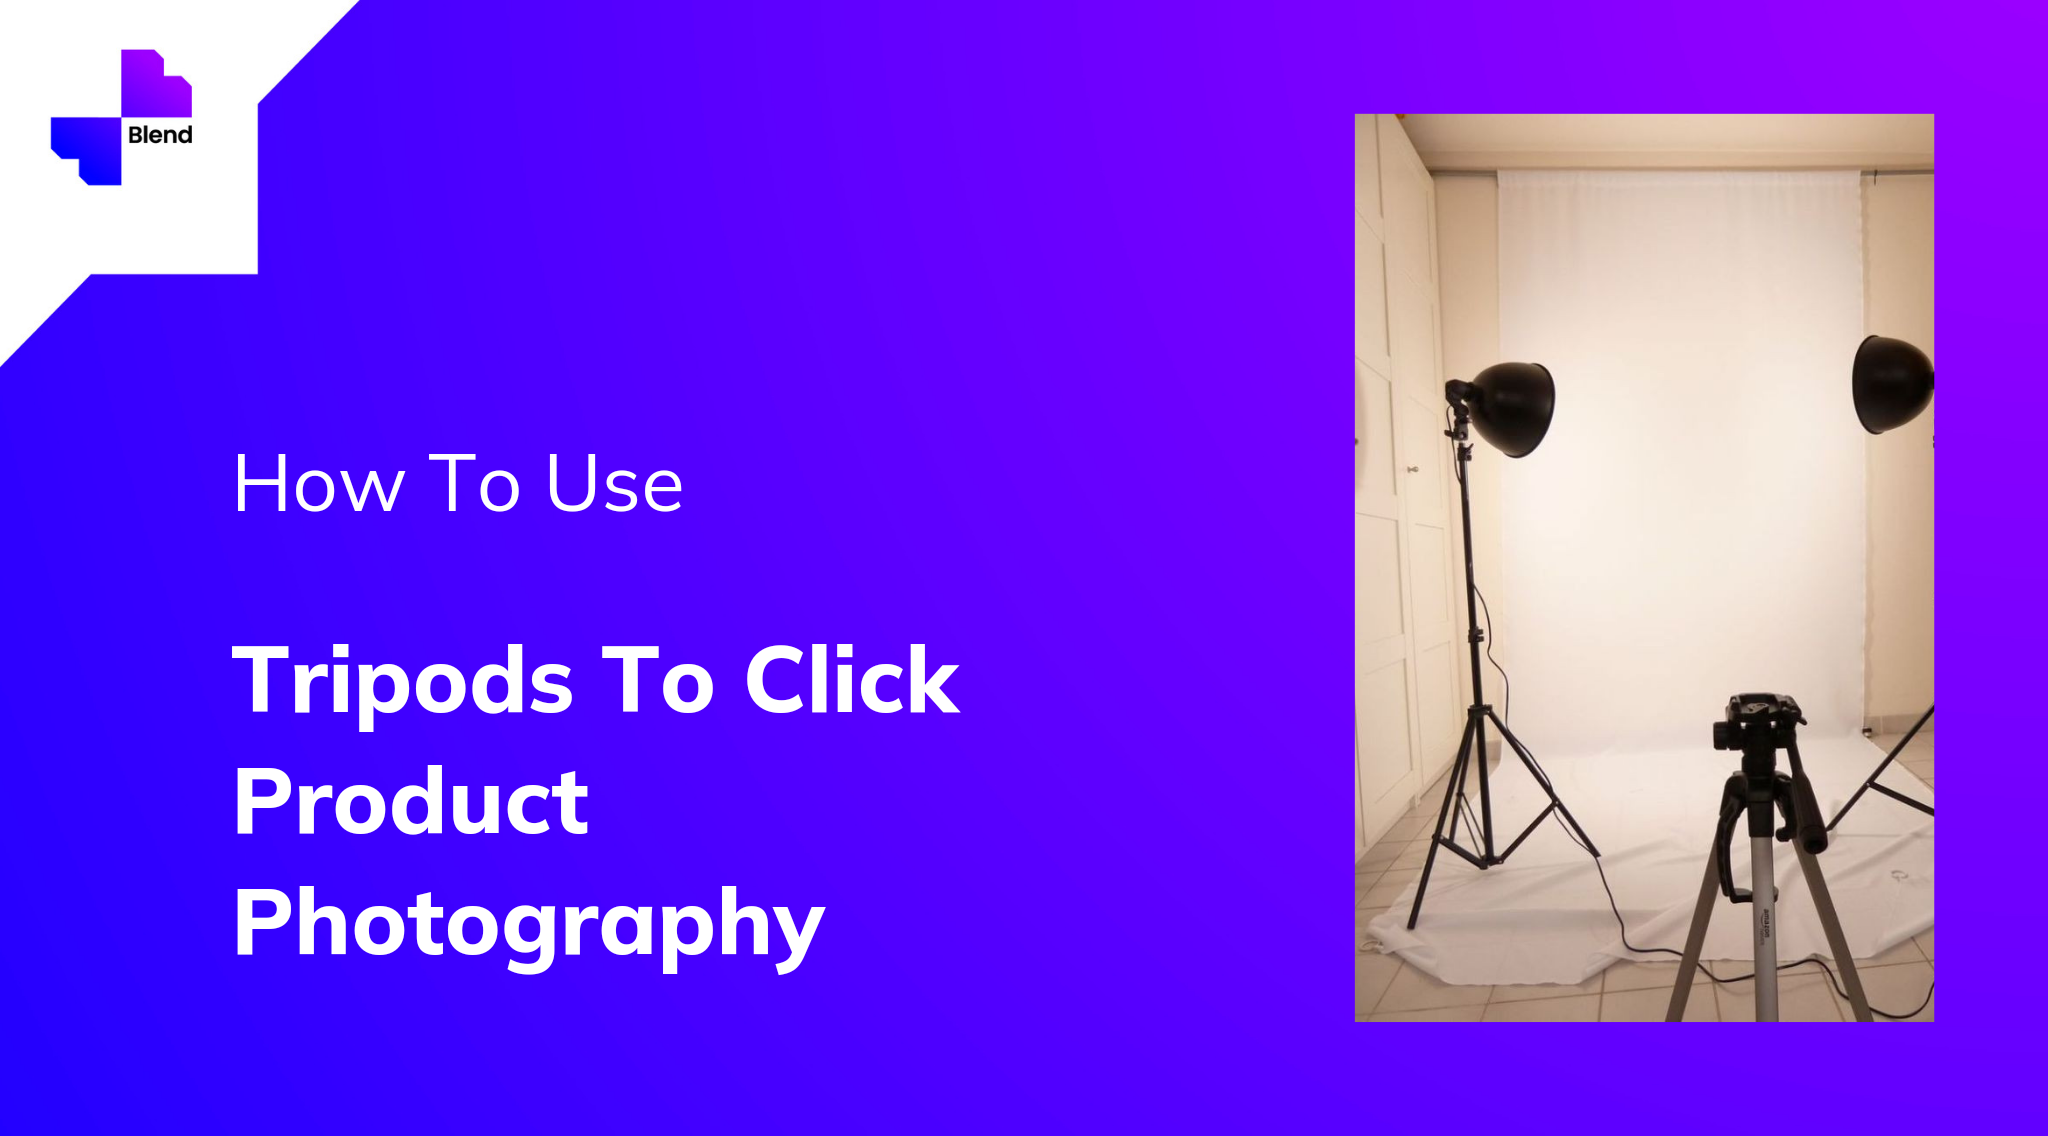
Tripods have become an essential part of photography in general. Be it clicking landscapes or food images, tripods have become omnipresent. For someone just starting out in product photography, a tripod might not be the first thing to hit his/her purchase list and they might not even feel it is important. But, as you progress, you can’t live without a tripod. So, before you find out the hard way, we thought why not talk about it in detail.
Before we start talking about how to use a tripod, let’s detail out reasons why one should even invest in a tripod in the first place.
Sharp, clear images are unquestionable
Tripods help you to take sharp and clear images and don’t leave any scope for error. We might not realize but shaky hands are quite a genuine problem in photographers. It can get quite frustrating if you don’t get the angles right or click blurred pictures repeatedly. This gets even more aggravated in cases when you need to play with your creativity as in product photography and not muddle with these petty thoughts.

Lets your creativity flow
As mentioned earlier, product photography demands a lot of creativity for which you require proper mind space. With your hands completely free, you can focus completely on the composition of the photo. Once done, your best product photo is just one click away with a tripod at your disposition!
Allows you to reduce ISO and shoot at lower shutter speeds
There is no doubt that outdoors can add a completely new dimension to product photography but let’s admit, most of the shoot happens indoors. With that, proper lighting can become an issue and one might have to reduce the ISO to achieve better quality. And here is where it gets tricky! As you reduce your ISO, it will lead to lower shutter speed which highly increases the chance of blurry images. And the way to avoid this, you ask? Tripods!

Let’s now talk about some important points you need to take into consideration in terms of your tripods’ features.
Ensure there is a hook: While a tripod provides all the support, having a hook will ensure additional stability by providing additional weight. This becomes all the more important when you are shooting your products inside at a low ISO setting.
Adjust your tripod’s height: There are multiple factors that come into the picture when you are trying to determine the distance between your composition and the camera – focal length, lens size, etc. While the composition can’t move, simply adjusting the height of the tripod can give you desirable results.
Adjustable orientation: The advantage of using a tripod is you can move your camera in every direction. When it comes to product photography, the two most important angles are 45 degrees and overhead. Make sure your tripod has the feature to allow you to switch to the overhead orientation.

Make sure your tripod has a spirit-level feature built-in: This will help you to ensure that your composition is completely parallel to the surface you are shooting and the horizontal and vertical margins are fully aligned.
Payload: Tripods come in many shapes and forms and not all tripods can be best for the camera and lenses you use to shoot your products. Paying attention to payload while buying a tripod can save you from a lot of unnecessary hassles.
With all that said, let me tell you using a tripod is not as simple as it looks. Let us discuss a few pointers you need to keep in mind to use a tripod the most ideal way!
Find your composition first
Composition is of supreme importance in product photography. You can set your tripod and adjust it as per your requirements only when you have a reason to do so. Playing with your composition and then playing with the angles, focal length, tripod height can all together contribute to the best product images.

Point one of the tripod legs towards the composition
This is a basic pointer to just allow you the right pose and click your photos with ease.
Keep the center post of the tripod vertical
This is very critical to ensure that the weight of your camera is evenly distributed among all three legs and it doesn’t cause you pain just at the moment you are taking your photos.
Use the L-bracket for shorter lenses and a tripod collar for longer lenses
It is a plate in the tripod that helps your camera to be attached to the tripod head. It significantly helps in keeping the center of gravity where the tripod can support it the maximum while also giving you the extra height you would require to shoot your images in the portrait dimension.
Similarly, for big lenses which can increase the overall weight of your tripod, shift the center of gravity, and can get the tripod shaky, using a tripod collar can really help to avoid hassles.

One might wonder why an entire article has been written to discuss tripod setup. It might look like a tedious process but it is crucial to not just ensure sharp images of your composition, not just to ensure all the advantages discussed above but to ensure it is not shaky which can lead to your camera toppling over and damaging your lenses! We are sure this would be the last thing that you would want! So yes, investing time in setting it up will not just help you avoid this mishap but will allow you to emerge as a photographer in the true sense!
