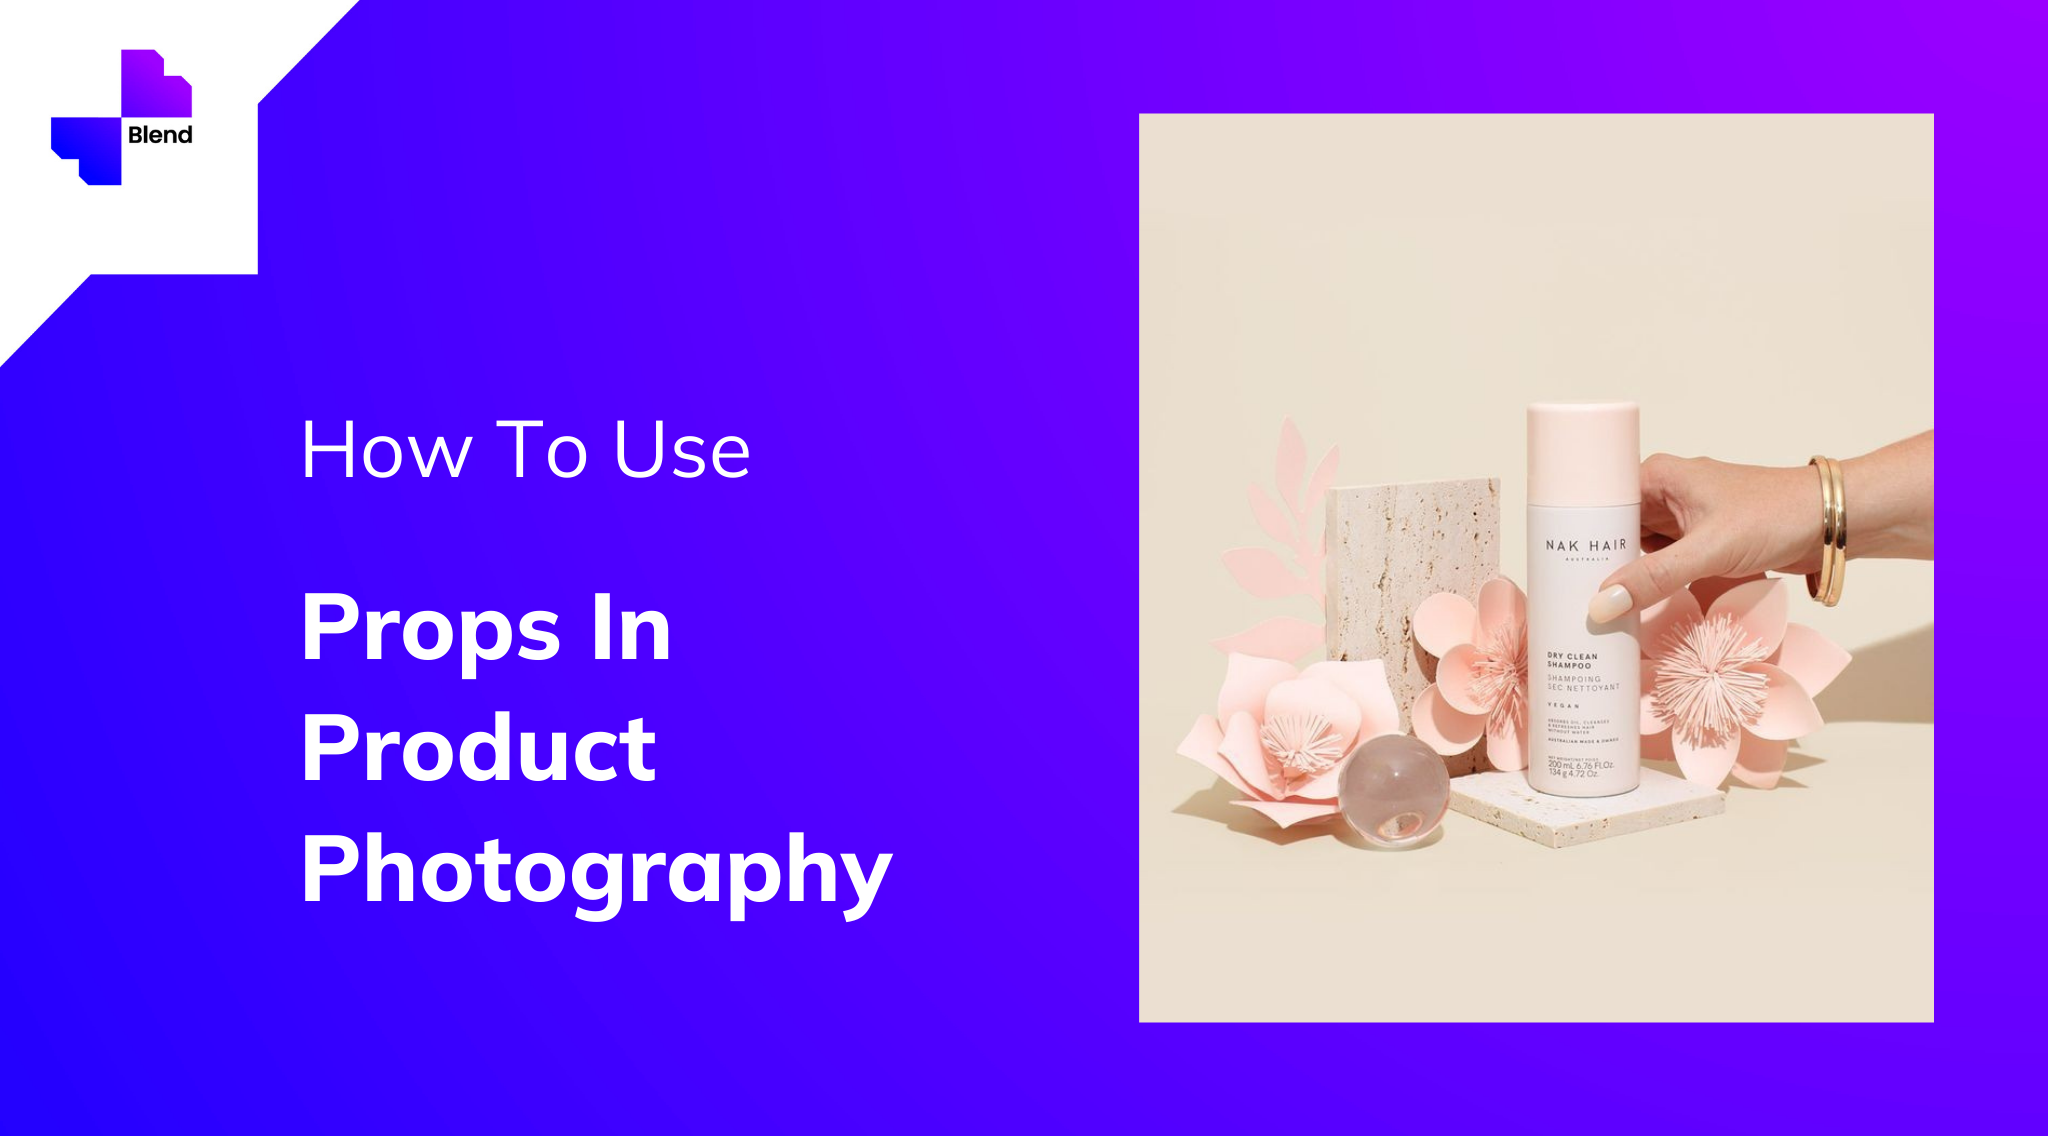
6 tips on using props in product photography to set your images apart
Are you someone just starting in product photography and don’t have a spotless white backdrop or you don’t own a photo studio just yet? Well, it is not something to worry about! With so many things to take care of, product photography can get very tricky even for an expert. You can take great product photos by just having the right background with the right props.
The secret behind great product photography using props is that they should blend with your photos in a natural setting and the entire picture should resonate with the customer’s emotions looking to purchase the product. In the absence of a real-life model, props help add more context to your photos while also generating interest.
No matter a beginner or an expert, using props the right way can set your pictures apart. Here are 6 tips for you to use props in the best possible way to come up with some aesthetic product photos.
Take Inspiration
For starters, the best way to make your task easier is to take inspiration. There are lots of playbooks to abide by and websites like Pinterest can come in really handy. Of course, props can’t be copied blindly and so, these pictures can just provide direction. But if you want to understand styling, setting the right color tones, etc. this can be a great place to start.
Additional tip? When you go through the vast repository of images, ask questions. Ask why it has been shot in a particular way, why are those specific props used for the image background, what could have been done differently and how it would look like?! Doing so will provide you with a self-help tutorial that can prove to be quite precious in the long run and that brings me to the next point.

Know the product, know your customer
Setting the right context with the right props would require you to know the product well. If you use something completely off, it might as well send out the wrong message to the viewer. While setting the image background with the right props, think about the product and the background from the customers’ lenses and how they would think and feel in the same setting. Think about the message you want to send out like –
- Is the product a luxury item or is it budget-friendly?
- Whom does your product cater to? Is it for millennials or Gen X?
Set the right backdrop to complement your props and product
Setting the right image background is critical to set the mood of your photo right and to ensure the props you select go with the overall tone. No doubt, it can be creative, it can be innovative but it should not look out of the place. For example, framing a perfume against a heavy metal background can ruin the aesthetics.
The right backdrop can come in many forms and can be quite simple, like using a vibrant silk cloth, glass with a few water droplets, or just using a piece of rustic wood. You should make sure that the background is not too loud or not too much in focus to distract the customer from the original product. The backdrop should be selected to complement the props and the product well.

Select the right color composition of your props
While it is important to select the right props which complement your product, it is also important that the color of the props goes with the overall aesthetics.
Distraction can become a very common problem in product photography and can even be hard to solve if not thought through properly. Dark-colored props with subtle colored products can do exactly that! Similarly, using very low-toned props can make a product picture look dull, taking away the feel and look on the overall level. Keeping a balance by using the right contrast becomes equally important.
Don’t overcrowd with props
Simplicity is the essence of product photography because unlike any other photography where the overall picture can do the talking, here, it is the product that needs to speak to the customer, in sync with the image background. If you overcrowd your pictures with a lot of props, it might look beautiful in general but the original product might go unnoticed and the purpose might get defeated.
If you are clicking product images intending to sell, make sure the focal point doesn’t shift from the product itself. While looking at the pic, it should be the product and only the main product that the customer is encouraged to purchase.

Get creative and make use of the versatility of props
The same props can go with multiple products and against multiple backgrounds. Similarly, the same props can be used in very different ways. For example, a maple leaf can be the hero prop in your product photography or can be kept against a light source to cast a shadow on a light-colored wall which can in turn act as the image background. Similarly, you can use natural flowers to style the image or can just pull off the petals, spread them all across, and shoot the same product for a completely different product picture altogether. The possibilities can get endless and even, economical if experimented with.

Final Thoughts
Since props can become a double-edged sword, the more you practice, the better you will get with them. If you follow all the above steps, you can come up with some great sellable photos of your products. But that doesn’t undermine the importance of editing before the final image is set out. Even with the best light conditions, there can be a little bit of color contrast that you might want to achieve. So, be ready with your image editing software for the final touches!
