Shadows play an essential role in photography. It can tell a story if appropriately placed in professional photography. Shadows give dimension to the focal object so if you are an e-commerce business owner, just taking a clear picture of your product with a nice background would not be enough to beat the competitors.
Here’s how you can easily add shadows and make your product pop in the image to attract your viewers’ attention.
Step 1
Download Blend Photo Editor from Google Play Store or Apple’s App Store. Upload a clear image of your product from your gallery to get started.

Step 2
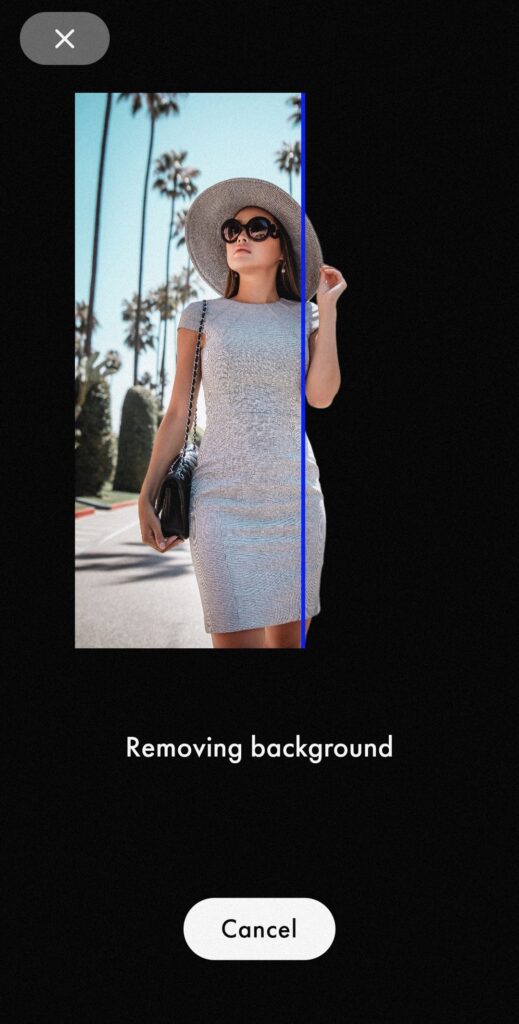
Wait till Blend’s advanced technology effortlessly removes the background of your images in just a few seconds. Once you get your pixel-perfect cutout, search for the appropriate background template for your theme.

Step 3
After editing the template to your choice and adjusting the product cutout on the template, click on the cutout to start editing your shadows. Experiment with the angles and find the right shadow for your picture.

Step 4
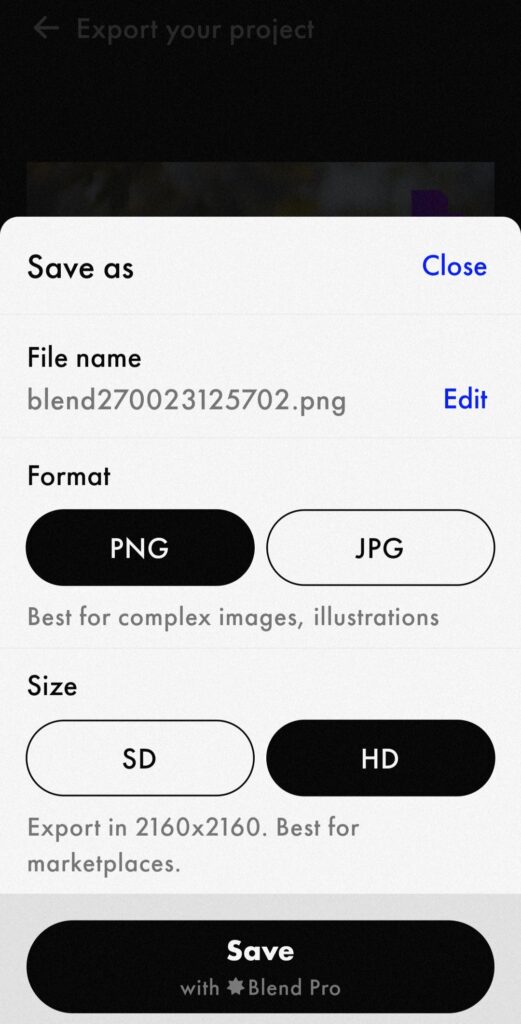
Save your final image as JPG or PNG file once all the editing is done to your satisfaction. Blend automatically saves your edits on ‘Project’ to save space on your gallery for future access.

Download Blend now and click here to learn more.
