Ever visited a shopping website, liked the description of the product, but were completely disappointed by the visual representation of the picture? If the image does not seem appealing and clear, customers will not bother to pay heed in this world of multiple options.
In this article, we shall help you understand an important aspect of product photography- how to light up your photos. Lighting can add the glaze, and cut down the flare. It’s powerful, and one should exploit this power completely to capture and blend images. Here are the top tricks that will get you going.
1. Continuous lighting or strobe lighting
Continuous lighting for product photography is the traditional comfortable way of lighting up photos. A LED lamp, a tube bulb, or any other light source emitting radiation of the same frequency constantly has been the primary source for most photographers.
Strobe lighting is those flashes that emit light at different frequencies and intervals, for example, ferry lights that keep blinking. In this case, synchronization between strobes and shutter click is the key aspect to capture its essence.

2. Natural light is the best filter
There is no bargain or substitute for natural light. It is one continuous stream of light that covers a vast domain of space and is inexpensive to use. Natural light should always highlight the product. Shooting for fabrics with a plain background or sky as the background is a wise choice, but shooting them inside a closet makes it appear duller.

3. Make friends with light reflectors
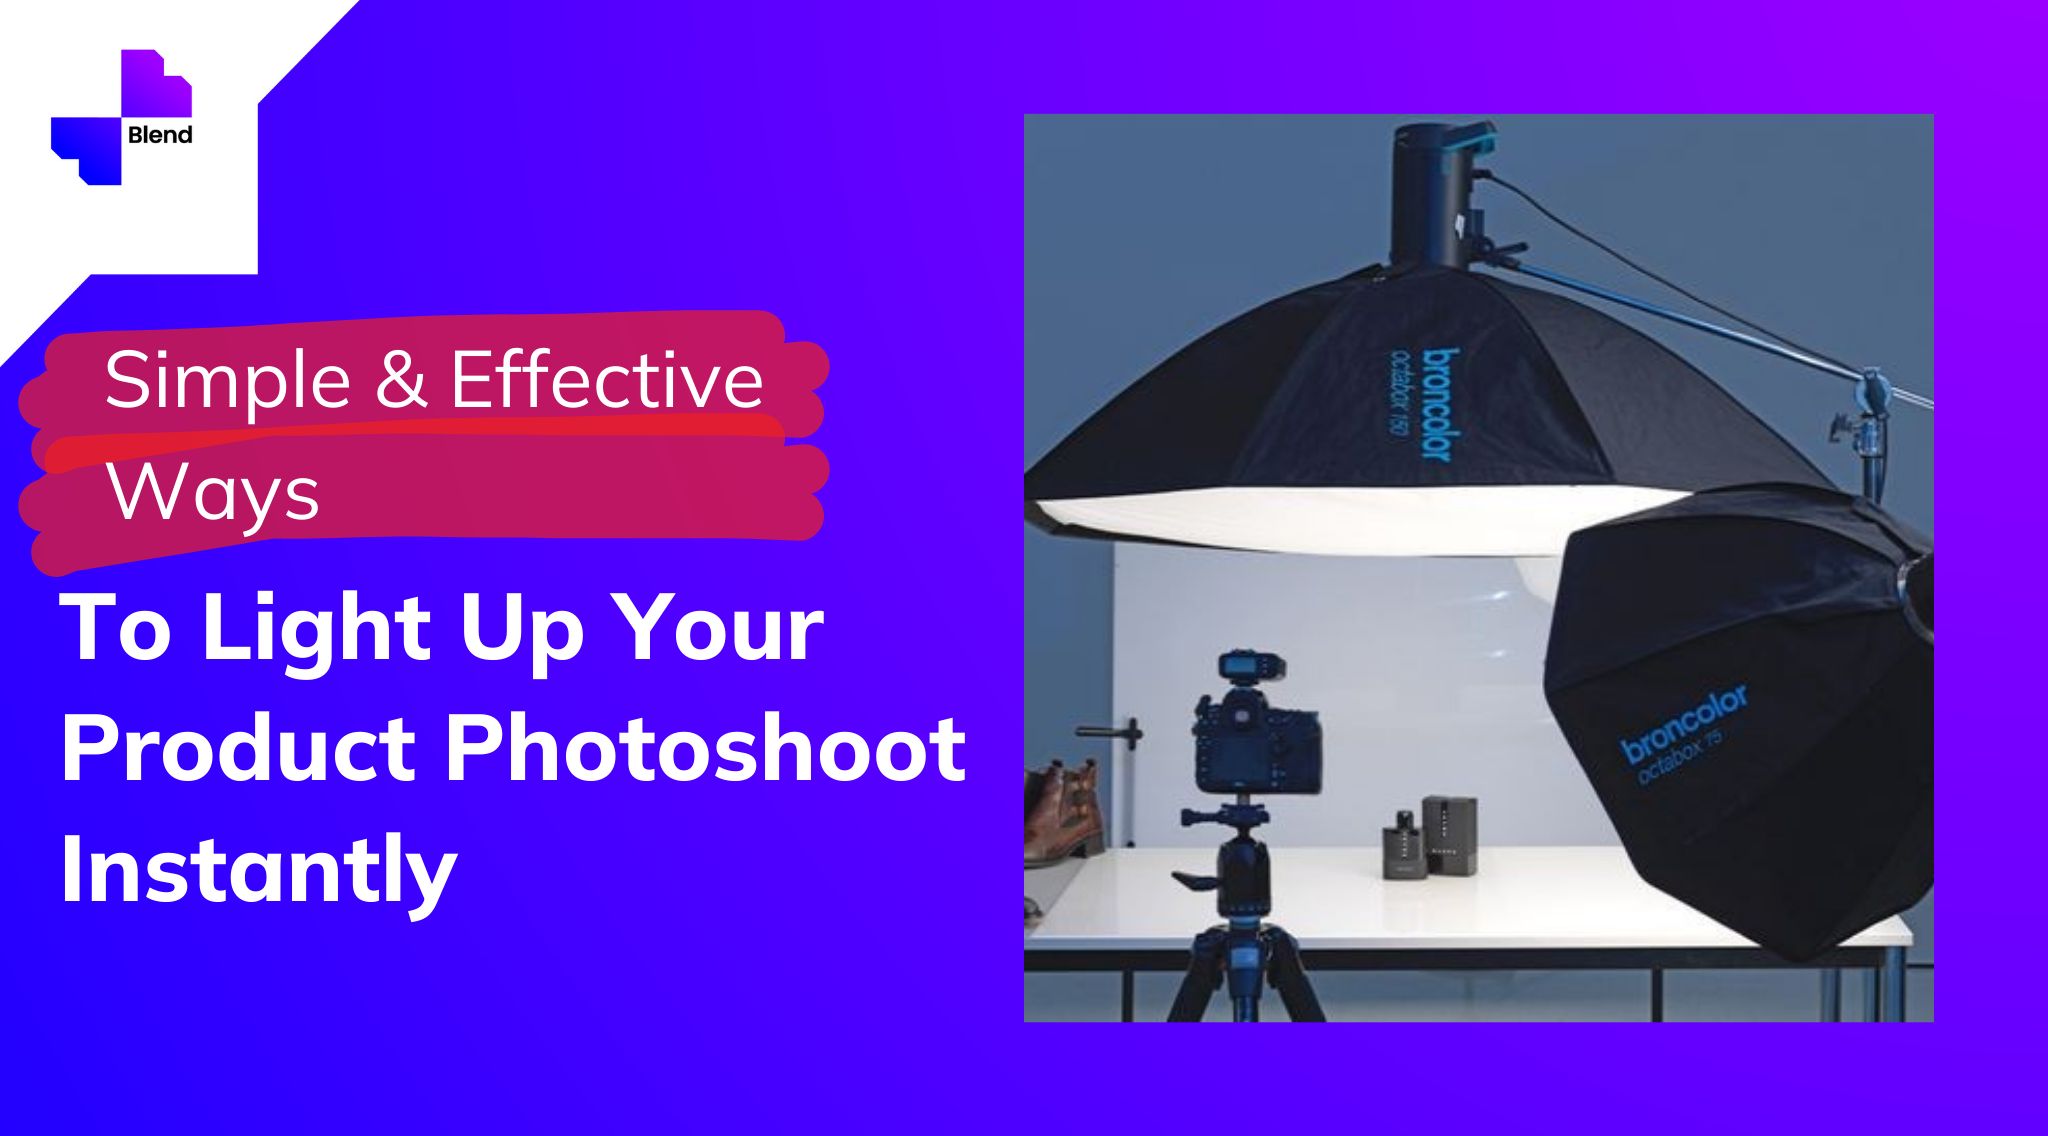
The umbrellas that you find in commercial photoshoots, the ring lights, photography light reflectors, are excellent shoot products to invest in. They disperse light and can light up the whole room, the product making it ideal for capturing a bright image. A bright image for product photography is generally recommended since its visually appealing and imparts a happy vibe.
Photography light reflectors can also be used to fill light. Redirecting light from a white foam core to a shadow can bring a dull image to life and, and vice versa i.e black foam core (black cardboard) can extract some light from a highlighted area.


4. The backlight should be brighter than the front one
Sharing the rule again. This will add a sense of depth to the image, and make it appear like a 3D representation which it is. A bright backlight will require over-exposing on the front object and make it stand out. You may also prefer using fill-lights and adjusting the white balance while using this mode. Also, position the images well in this setting. Symmetricity will help achieve better results.

5. Know how to place your lights well
Placing lights strategically is the key player, and more importantly, adjusting them to the dimensions and look of the product. Here are some quick guidelines on how to position various photography reflectors for the setup:
- Ring Light/ Umbrella photography light reflector(One Light) for Bright Front Photoshoot
- Overhead Light for dramatic shots – Good for adding effects to the shoot.
- Direct Front Light (Continuous source) – for highlighted shots
- Full Coverage across the domain to capture a well lit highlighted photo
- The Triangle Setup to Emphasize Form – It’s great for still product photography, and for clicking portrait shots.
- The Separation Setup (Three Lights)- The backlights should aim at the wall rather than the back of the product.

6. Mind those shadows
Keep an eye on shaping lights and adjusting shadows while creating your catalog of images. Its important to not let the light overshadow the products. Keeping the light sources at 45 degrees to the product will help achieve a stable look.
(Quick tip- Always click from different angles to determine the softness of shadows and determine the final position. Human eye differentiates brilliantly)

7. Blend image background and lighting
This is when the sense of judgments plays its role. No matter how good the lighting is, or if you have a picturesque background, it all goes into vain if it does not complement each other. This should be an additive collaboration.
You can use a simple to use and easily accessible app- Blend to play with the backgrounds and achieve a blended image that looks like one whole piece instead of dissimilar crumbles joined together.
8. Adjust the quality and quantity of light and shadow
Determining the softness/hues of light is fundamental. A direct plain source of light will leave hard shadows on an object, which may or may not be useful, depending on the kind of design we want to achieve. Changing the distance of the light from the object will directly modify the intensity of light, its saturation, and softness.
Visit this link to know more about product photography and create it like a pro.
9. Keep it realistic
Pop colors are good for products that need them, similarly not every product will enhance with a black or gray setting. Keeping it real is what will enhance it visually. Capture how it would look when put into use and make it appear natural. It should seem effortless ( even though we know the amount of effort that goes in there). It is equivalent to creating a no-makeup makeup look
Lights are constructive, as well as destructive. Construct your image and destruct your thoughts and create a unique design. Keep following us for quick tricks(quick to read, remember and implement).
Wish you a creative journey of blending ahead with us!
