Even though Instagram is known as a pictures-oriented social media, it is also a popular place for online business owners to open their shops for free or increase revenue by posting attractive product photographs. Learn how you can convert your followers to your buyers by uploading professional and creative product images in this article.
1. Lighting
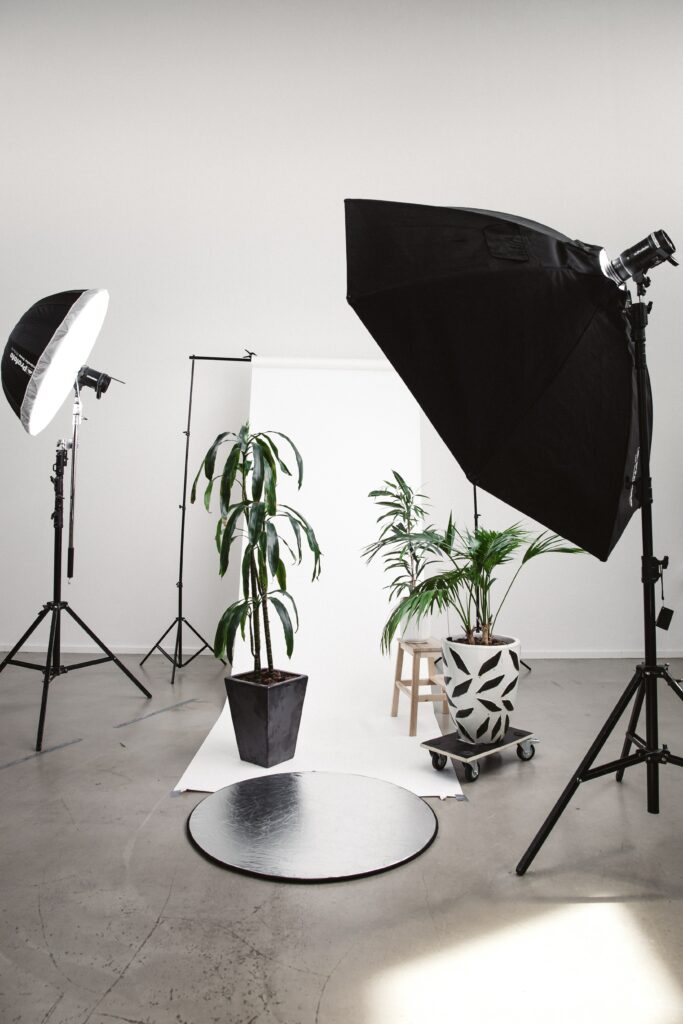
Lighting and the role of shadows are very important in any kind of photography. Set up your equipment and products properly and make sure you get enough lighting to show the real colors of the product. Sunlight or natural lighting is preferably best for product photography.
2. Angle
You can take pictures of the product from different angles to portray all the details and designs of the product. Different types of angles vary for different types of products. For example, 3/4th angles are mainly used for shoe photography while an angle from the top is used for food photography. So you can refer to the angles that go well with the type of product that you are selling.

3. Device
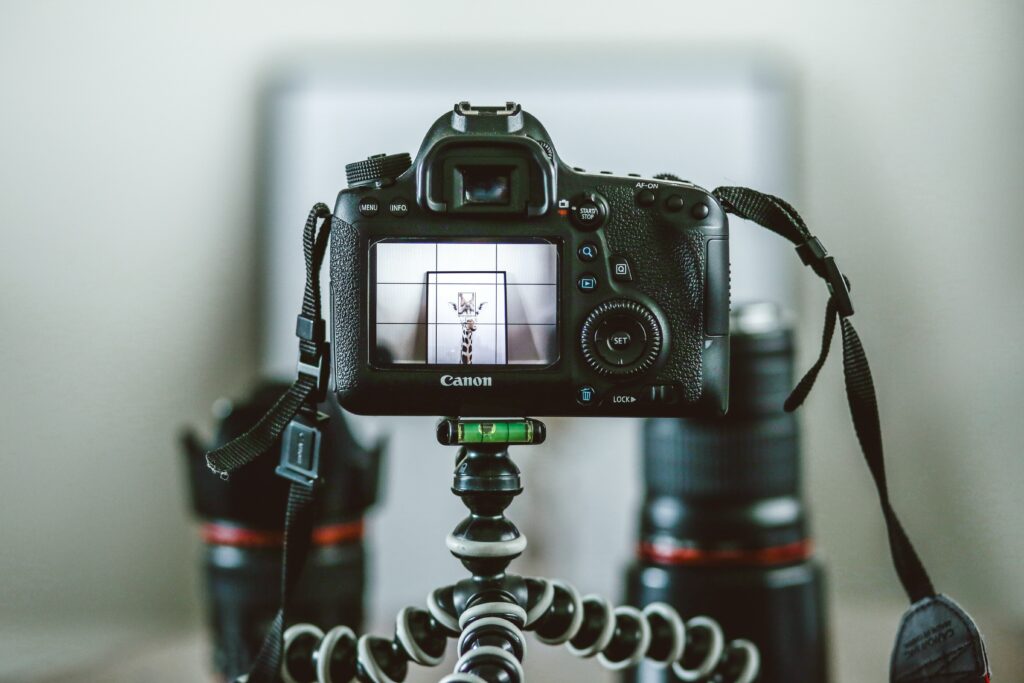
If you are taking pictures with a digital camera then make sure you are not using a wild angle lens as it tends to distort the images. Adjust the white balance and color contrast as needed.
Smartphones also work well for product photographs. Always use a tripod to settle the device, nobody would want to see a blurred and unfocused image of the product that they want to buy.
4. Background
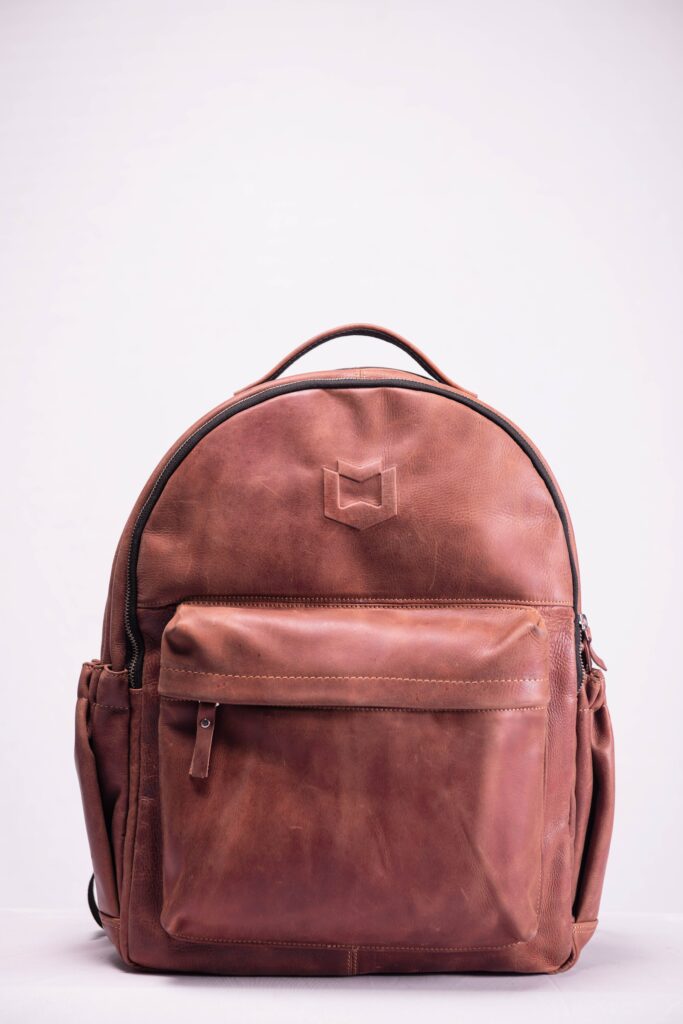
The backdrop is very essential in product photography. Different online platforms ask for specific backgrounds in product images but you can show your creativity on Instagram. You can use a contrasting background to make your product pop, or you can also use a gradient background to give it dimension. If you are confused with the colors then just go for white.
5. Props
Choosing the right props and placing them perfectly can be a difficult job. Try to follow the theme of the product and your page while choosing your prop. the size and visibility of the prop are also something you should keep in mind. Do not use a lot of items as it might distract the viewers from the actual product. Props are mainly used to compare the size of your product with real-life objects so you can use 1 or 2 simple items that go well with the theme and color of the whole image. Skip this step if it becomes complicated. Only the product photographed perfectly also creates a good conversion.
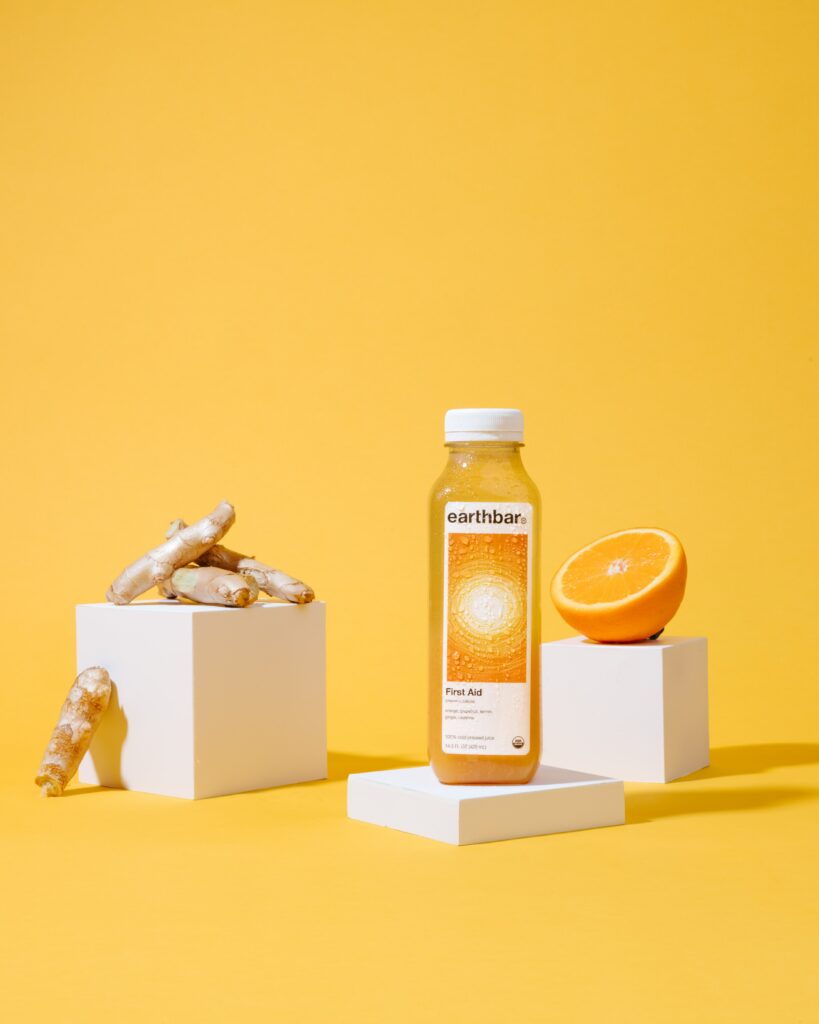
6. Product
Prepare the product beforehand to avoid delay while photoshopping. Clean the product and make sure it is a new sample so that it looks perfect. Place the product in the center to make it aesthetic. But if you are using props then find the ring place and angle to show all the details and elements.
7. Editing
Editing is the last and another essential part of product photography. After you are done clicking the pictures with the necessary steps mentioned above, you still need to make the remaining adjustments by editing. Adjust the saturation, white balance, and sharpness of your product to make it look exactly the same as in real life. You can also add your brand logo to this image in this step.
Use Blend to remove and adjust backgrounds if you cannot afford professional photography setups. It also provides 5000+ themed templates to choose from. Create amazing and attractive advertisements with Blend to grow your business.
